Premier Cleaning Companies Winnipeg: Your Trusted Cleaning Partners

Deck Staining Made Easy: Step-by-Step Overview for Do It Yourself Enthusiasts


Are you a DIY fanatic looking to give your deck a fresh brand-new look? In this step-by-step guide, we will certainly walk you with the procedure of deck staining. With our easy-to-follow directions, you'll be able to change your deck right into an attractive outside space in no time.


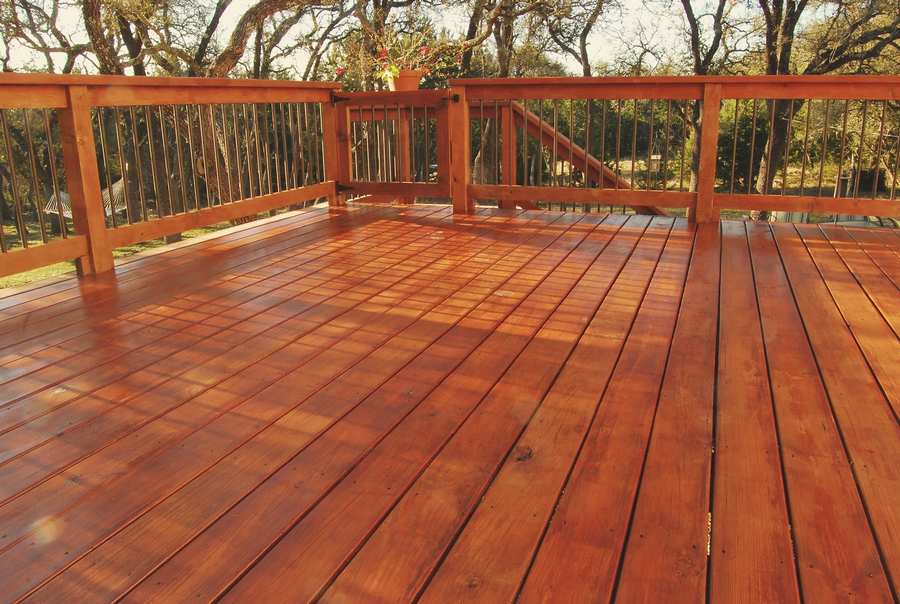
Preparing the Deck Surface


Before you start discoloring the deck, make sure you're effectively cleaning up and also fining sand the surface. This step is vital in making sure a smooth and also durable surface. Begin by eliminating any type of furniture or plants from the deck. Sweep away any kind of loose dust or particles using a broom. Use a power washing machine or a hose pipe with a high-pressure nozzle to extensively cleanse the deck. Pay attention to areas with stubborn stains or mold, as well as make use of a deck cleaner or a mix of warm water as well as light detergent to treat them. After cleansing, allow the deck to dry entirely for a minimum of 1 day.


Once the deck is dry, it's time to sand the surface. Order a portable orbital sander or a fining sand block, as well as begin fining sand the deck boards in the direction of the timber grain.


Selecting the Right Discoloration


When determining on the ideal discolor, you'll want to think about the kind of wood you're working with. Various kinds of timber have different attributes that can affect how well they absorb the discolor.


In addition to the kind of timber, you ought to likewise consider the shade you want to attain. Spots come in a range of shades, from light to dark, and also can significantly change the appearance of your deck. If you're aiming to improve the all-natural color of the timber, choose a clear or semi-transparent discolor. These permit the wood grain to reveal with while adding a refined hint of shade. For a much more significant impact, go with a solid or nontransparent tarnish, which will totally cover the wood and also give a strong, consistent color.


Last but not least, think of the degree of defense you desire for your deck. Discolorations with higher levels of pigment have a tendency to provide much better security versus UV rays and dampness. If your deck is exposed to rough weather, it's worth spending in a discolor with added safety high qualities.


Cleansing and also Repairing the Deck
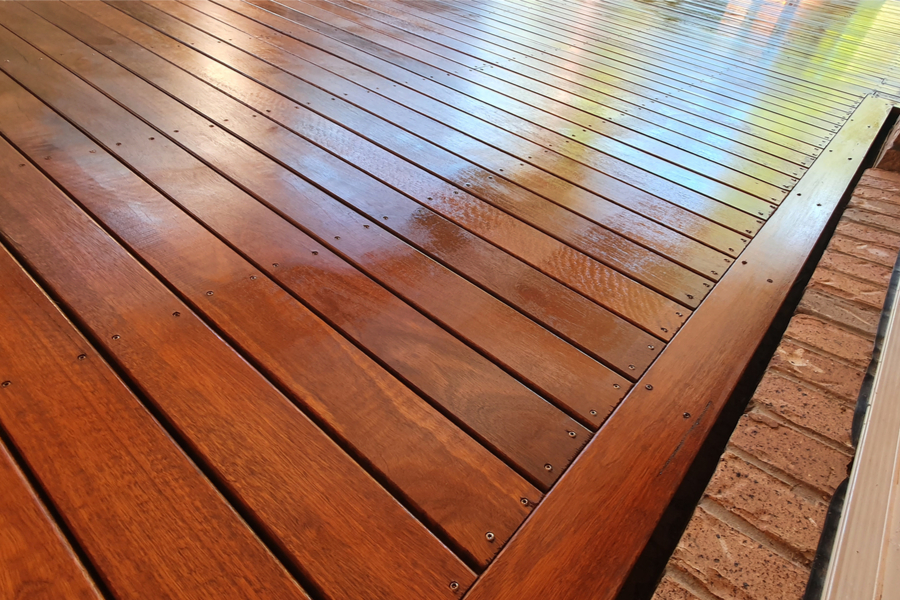


Deck Staining Near MeDeck Sealing
To clean up and also repair your deck, you'll need to gather the required devices as well as materials. Order a broom or fallen leave blower to remove any loose particles such as leaves, dirt, and also branches. Next, check the deck for any harmed or rotten boards. If you identify any kind of, make certain to have replacement boards on hand, together with a circular saw and a power drill for the repair service work. In addition, you'll need a deck cleaner service, a scrub brush, and a pressure washing machine to eliminate dust, mildew, and also spots. Do not neglect to wear protective eyeglasses, handwear covers, and also apparel while functioning. As soon as you have everything prepared, start by sweeping the deck completely, paying focus to the edges and sides. Mix the deck cleaner service as per the maker's instructions and also apply it kindly to the surface area. Use the scrub brush to upset the solution as well as loosen up any grime. After allowing it rest for a couple of minutes, wash the deck with a pressure washer, functioning in a sweeping activity. Be cautious not to use excessive stress as it could damage the timber. Permit the deck to dry entirely prior to relocating on to the following action.


Using the Stain


Deck Staining Near MeDeck Staining Nashville
Since my review here you've finished news cleansing and repairing, it's time to apply the discolor to your deck. This is the interesting part where you obtain to see your effort revived. Begin by choosing the best stain for your deck. Consider the color and also kind of wood you have. Ensure to review the instructions on the stain can to guarantee you apply it correctly. Before you start, safeguard neighboring plants and also surface areas from any kind of possible drips or spills by utilizing a decline cloth or plastic bed linen. Now, grab a paintbrush or roller, and begin applying the stain in smooth, also strokes. Work in small sections, complying with the grain of the timber. Don't forget to stain the sides and also edges of your deck as well. As you go, make certain to remove any excess stain to stay clear of a blotchy coating. Permit the initial coat to completely dry totally before using a 2nd layer if wanted. As soon as you're done, let the discolor treatment according to the maker's directions prior to relocating any furniture or plants back onto your beautiful, newly stained deck.


Finishing Touches as well as Maintenance Tips


After using the last layer of tarnish, it's important to regularly tidy and secure your deck click now to maintain its elegance and protect it from the elements. Pick a top notch sealer that is specifically developed for decks and apply it according to the manufacturer's guidelines. It's recommended to use a new layer of sealer every 1-2 years to keep your deck looking its finest.


Conclusion


Fence Staining Near MeDeck Sealing
In final thought, you have actually learned how to make deck staining a very easy task for DIY enthusiasts. By following the step-by-step guide, you can prepare the deck surface, pick the ideal discolor, tidy and fix the deck, and apply the discolor successfully.

Leave a Reply

Your email address will not be published. Required fields are marked *